Finishing Your Wine!
Hopefully, if you’re reading this part, your wine has been sitting in a carboy for at least three to six months and has been racked off the sediment a few times. It is time to talk about finishing your wine before bottling!
Fining Agents
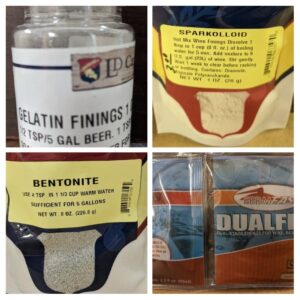
In the previous part, I talked about using clearing agents to help your wine clear a little more quickly. Those are bentonite, sparkolloid, gelatin finings, or FermFast DualFine. Of course, the wine will clear on its own the longer it sits, and you continue to rack it off the sediment every few months.
Bentonite
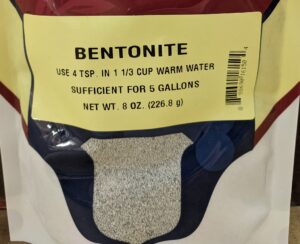
Bentonite is a clay that can be used at the beginning or end of the fermentation process to clear wine. Dissolve four teaspoons of bentonite in 1 ⅓ cup of warm water as best you can, it may not dissolve completely, then pour it into your wine and stir gently. That’s good for five gallons. If you want to use it at the beginning as a proactive fining agent, put the bentonite water in the bottom of your fermenter before pouring your fruit juice or water and fruit on top of it. Then, as fermentation takes place, pieces of the bentonite clay will be suspended by CO2 bubbles, and when released, they will drop to the bottom, taking sediment particles with it.
Sparkolloid Powder
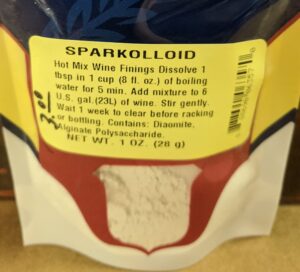
Sparkolloid is also a clay containing Diaomite and Alginate Polysaccharide. It is used at the end of the fermentation. For six gallons, dissolve one tablespoon of sparkolloid in one cup of boiling water for five minutes. Pour mixture into wine, and stir gently. Wait one week before racking, again, or bottling.
Gelatin Finings
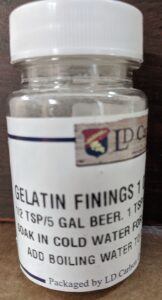
Gelatin finings can be substituted with Knox gelatin. Soak a teaspoon of gelatin finings in a cup of cool water for twenty minutes. Then, heat the gelatin to 180 degrees Fahrenheit, you don’t want it to boil because you want it to be sticky so the sediment can adhere to it. Pour the hot gelatin water into five to six gallons of wine, and stir in. I use gelatin for beer more often than wine, but it works well for beer, so it probably works just fine for wine.
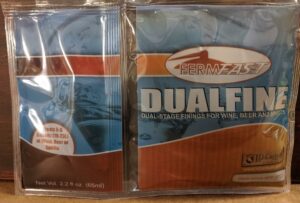
FermFast DualFine
This is a liquid, two-step clearing agent with kieselsol and chitosan, both of which are a derivative from the crustacean, so there may be an allergen there. In step one, you stir in the kieselsol and wait at least an hour. After an hour stir in the chitosan. This is probably the fastest clearing agent, seeing clearing results in one to two days.
After using clearing agents, or none at all, I know many of my customers like to put their wine through cheesecloth as a filter. If you want to do this, make sure you are siphoning and not pouring the wine through the cheesecloth because that can add oxygen to your wine, risking oxidation.
Filtering
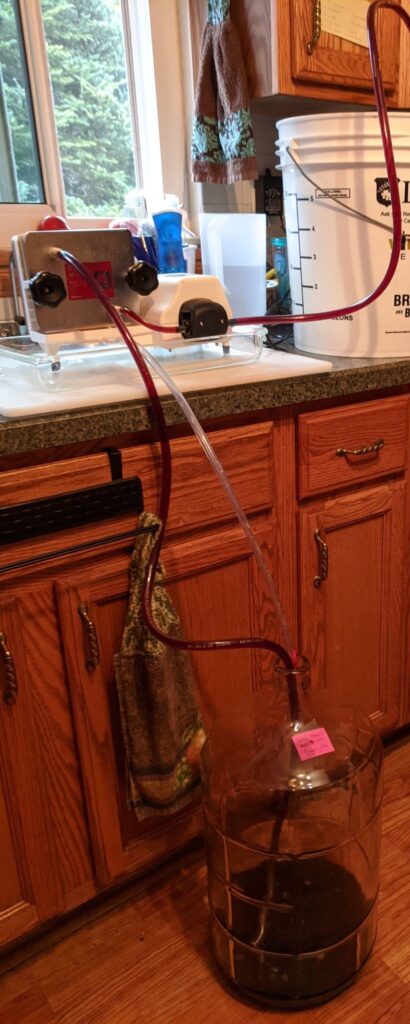
If you don’t want to take the time to put your wine through cheesecloth, but want to filter it, you could look into a motorized filtering system. I’m used to using the Buon Vino Mini Jet filter, which uses three pads to filter wine in about twenty-five to thirty minutes. There are pads of varying degrees of filtration to choose from, but you use one set of three pads at a time. The first level of filtration uses the coarsest pad which can be used for wine that still has sediment, the next level of filtration uses a less coarse pad on wine that has been racked a few times, but may still have suspended fine sediment. Final filtration is achieved using the least coarse pad for polishing wine that is clear, but needs a little extra something to make it sparkle. If you don’t want to invest in one, here at Means Cork and Cap, we offer a daily, or weekend rental of the Buon Vino Mini Jet filter. The filtering system is a great finishing touch to polish your wine before bottling to achieve an attractive final product. I’ll be writing a dedicated post on the Buon Vino Mini Jet filter after I’ve finished writing this wine guide.
Stabilizing
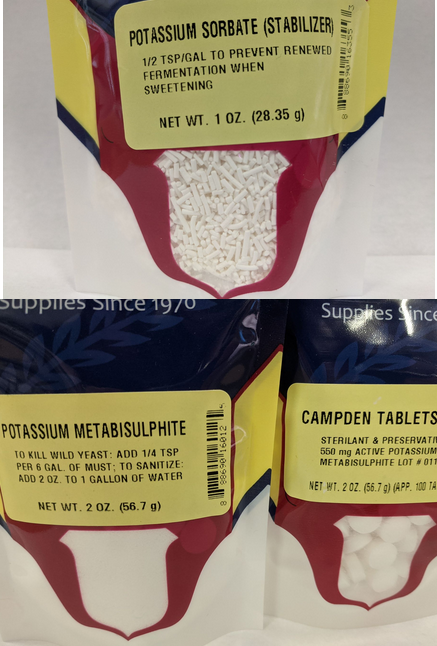
Remember in the additives section of this wine guide, where I talked about potassium sorbate? If not, that’s ok, there has been a lot of information between then and now.
After filtering, if you want to back-sweeten your wine, and for preservation, I highly recommend stabilizing your wine. Stabilization enables the addition of sugar to sweeten and prevents re-fermentation of your wine.
Add half a teaspoon of potassium sorbate per gallon of wine, which would be two and a half teaspoons for five gallons, and a quarter teaspoon of potassium metabisulphite, or five campden tablets, per five gallons. Potassium sorbate prevents renewed fermentation, and shouldn’t be added alone. This is because on it’s own potassium sorbate could cause a reaction in the wine resulting in a flavor or odor resembling a geranium plant. You need to add the potassium metabisulphite with potassium sorbate to prevent that from happening. The potassium metabisulphite is a preservative, and kills any lingering yeast cells and protects from bacteria.
I would dissolve these in some water before adding them to your wine so there aren’t any particles of these powders floating around in your newly filtered wine. Wait at least twenty-four hours before back-sweetening to give these additives time to work.
If you do not add these, and you back-sweeten your wine, it may start fermenting in the bottle, and blow your corks. If you are going to keep your wine dry, I would still add the metabisulphite for preservation, but the sorbate isn’t as important since you aren’t adding sugar.
Bringing Life Back to Your Wine!
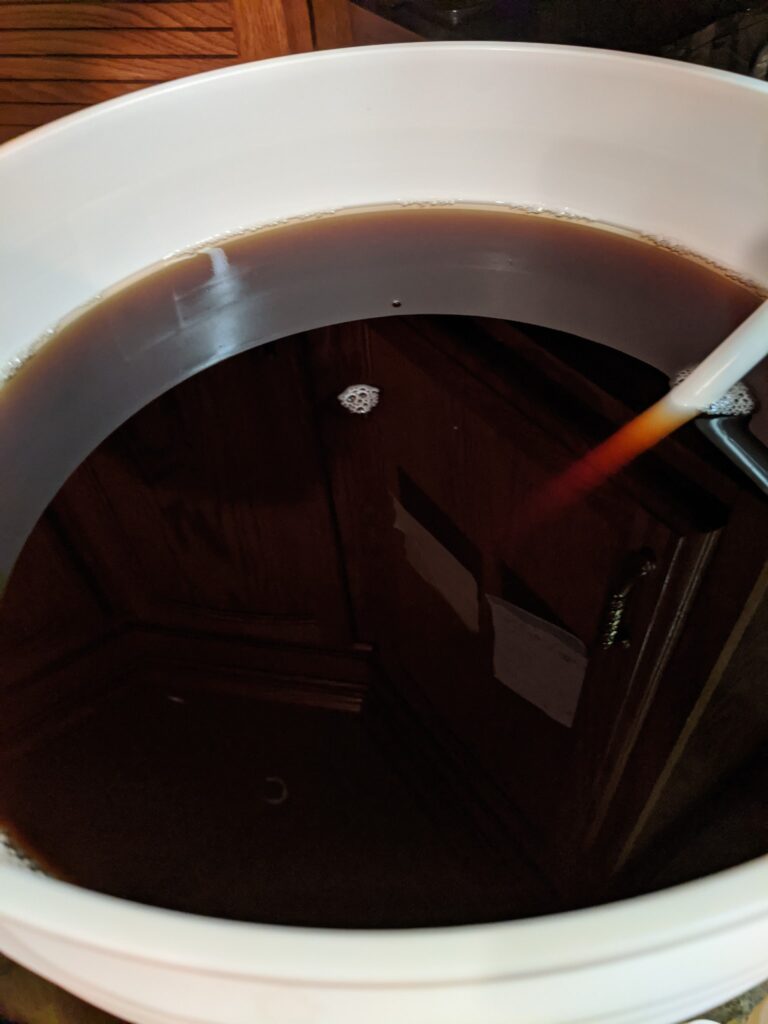
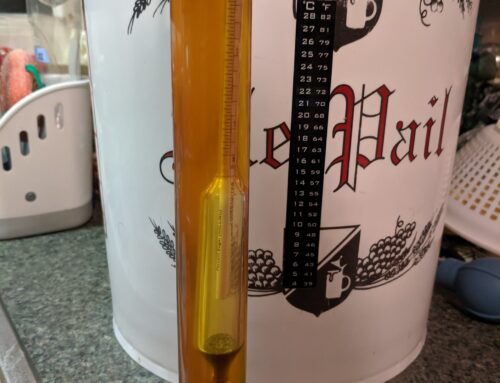
Before doing the following three things to my wine, I transfer it to a clean and sanitized bucket (pictured above), so it’s easier to thoroughly stir everything together, and get samples to taste!
Back-Sweetening
When making wine, I tell my customers rather than trying to maintain some residual sweetness, it’s easier to let the yeast work, making alcohol and possibly drying out the wine then back-sweeten at the end. That’s mainly because many people want higher alcohol wines, which usually results in a dry wine because the yeast has a high alcohol tolerance and will eat all the sugar.
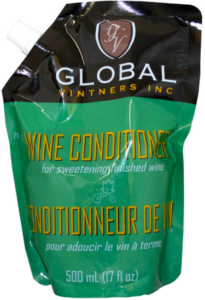
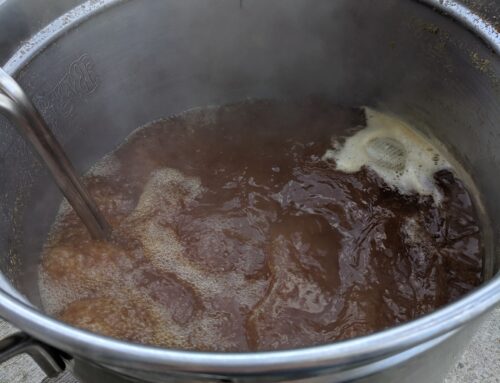
To back-sweeten, you can buy wine conditioner, which is a pre-made syrup treated with potassium sorbate, though I would still dose your wine with potassium sorbate because I don’t think there is enough in the wine conditioner to stabilize the wine. What I normally do is make simple syrup on the stove, a 1:1 ratio of water and sugar boiled for five minutes until the sugar is dissolved, and let it cool. Using measurements that I can keep track of for future reference, like an ounce medicine cup, I start adding the syrup a few ounces at a time, stir it in, taste, repeat until I’m happy with the sweetness. For tasting, and getting samples for hydrometer readings, I have a baster dedicated to wine and beer making, and just suck up a sample and put it into a small glass for tasting. The last time I back-sweetened a wine, I think I added ten ounces of syrup to get to a mild sweetness and to take the edge off.
Smoothing
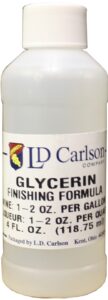
Speaking of taking the edge off, sometimes at the end of fermentation for some reason wines can have a slight to overpowering bitterness, or acidic/alcohol bite, which can be helped. If it is a high acid problem, you may need to add some calcium carbonate to bring up the pH, like a tums for your wine. For other bitterness, food grade glycerine is what I recommend. Glycerine is not a sweetener, so you can use this for dry wines as well. It is a liquid, so I suggest using a medicine cup to add it, as well. Again, start with an ounce or two, stir it in, taste, repeat. Sometimes a nice balance of glycerine and sweetener is needed to make a wine less bitter, I just ran into that with a blackberry wine. It was just a little too tart to keep completely dry, so I did end up having to put some syrup in addition to the glycerine.
Flavoring
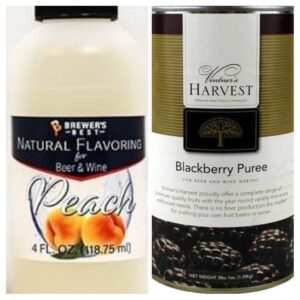
There are some fruits that may not hold their flavor through fermentation, like blueberries, peaches, and pears, or you might just want to give a boost to your wine’s flavor. This can be remedied with flavor extract, which is not sweetened and is also a liquid. Using a medicine cup, add the flavor extract, stir in, taste, repeat.
If you want to go a more “natural” route, you can use purees, either pre-made or one you’ve made. Of course, purees will have sugar in them, so they can sweeten your wine at the same time, but remember that whatever sugar you add has the potential to restart fermentation, so again, stabilize your wine before doing this. Purees can also add body and color back into your wine. I’ve never actually used puree to flavor a wine, but I have used it in beer. I used a three pound can of blackberry puree in a dark beer, and it came through nicely, so I imagine it would do well in a wine that’s the same flavor.
Be Careful!
Flavoring is something that can be overpowering, especially the flavor extracts, so be careful. Add it a few ounces at a time, because too much extract can start to taste fake. Remember, it’s easier to add more than to take it out, which also applies to the back-sweetening! For reference, when I made peach wine, it took ten ounces of flavor extract to get to the flavor intensity I wanted, it’s all subjective.
Also, flavor extract tends to sink, so if you flavor your wine and let it sit before bottling, make sure to give your wine a stir before bottling so the flavor is through the whole wine. I ran into that problem when I flavored a beer with blueberry extract. I didn’t realize the flavoring would sink, and when I went to bottle and tasted beer from the top, it didn’t have any blueberry flavoring, so I added another four ounces on top of the four already in it. Let’s just say, that was too much blueberry extract for five gallons of beer.
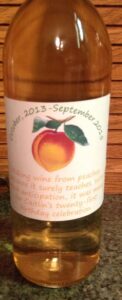
Peach wine mentioned above. Yes it says 2013 to 2015, I let it sit in a carboy for two years!
Let it Meld
After sweetening, smoothing, and flavoring, return your wine to the carboy with a solid stopper or stopper and airlock. I would let your wine sit in the carboy for a few more days, at least three, to give all the additions a chance to meld. Before bottling, I’d give the wine a stir and taste it to see if the balance is where you want it to be. If it’s not quite there, you can add more of whichever is lacking and, again, let it sit to meld. If you think it’s perfect, it’s time to bottle!
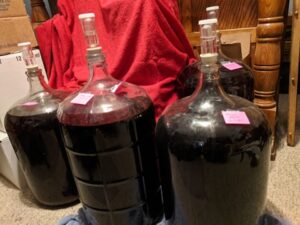
White Merlot, Negroamaro, Three Moons, and Blackberry (mentioned above) wines filtered and stabilized awaiting bottling.
Stay tuned for the final part of this wine making guide, bottling and shelf time!

