As we are entering the fruit winemaking season, I wanted to talk about a few things that can make your fruit wine the best that it can be! I’m going to be splitting this topic into a few posts so it isn’t overwhelming.
I know many people often turn to making wine due to leftover fruit from canning, or because fruit bushes/trees have an overabundance and the only option is to let it rot or make wine. I hope this guide can help those of you who are interested in the hobby, and give a new perspective to those who have been making wine for years.
Equipment
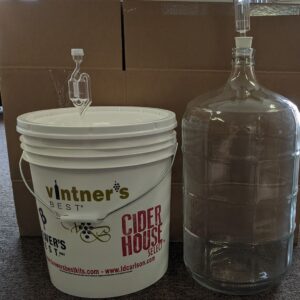
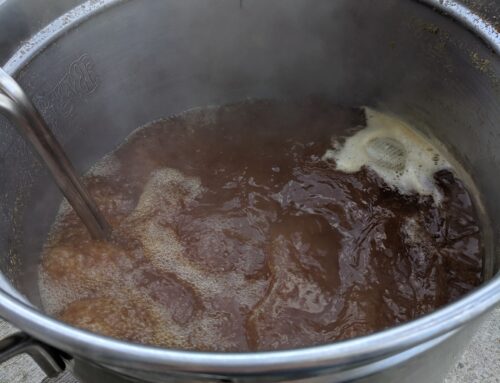
Let’s start with an essential part of fermenting anything, which is the equipment. Before picking out equipment, think about how much wine you want to make; one, three, five, or six gallons; that way you know what size of equipment you need. I recommend using at least a bucket that’s a gallon bigger than your batch size for the initial fermentation, then have a glass or plastic carboy the size of your batch to transfer into for secondary (we’ll talk fermentation in another post). I like to use a bucket for primary fermentation rather than a carboy because it gives room to ferment whole fruit if I want, and is easier to clean; there is a lot of gunk at the end of the primary fermentation.
Why Does Carboy Size Matter?
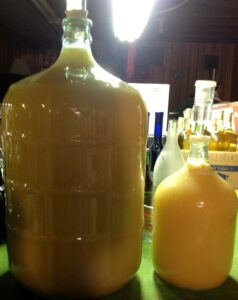
For wine, having a carboy the size of the batch for the secondary fermentation is best because it doesn’t leave as much air space on top of the wine that a bucket would have. Air is the enemy of wine because it can oxidize it, and wine is very susceptible to oxidation. Of course, if you have too much wine for the size of the carboy you have, you can always put the extra in a smaller fermenter, like a gallon jug or even a wine bottle, but again making sure there isn’t a lot of air space. (Pictured Below)
Other Equipment You’ll Need
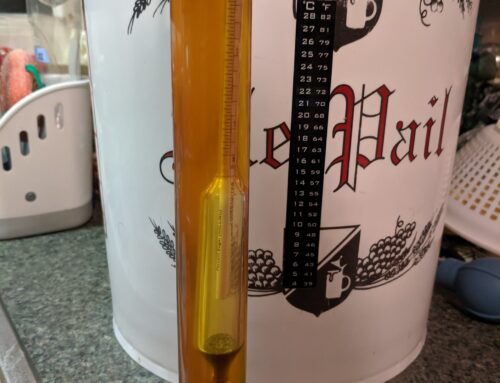
In addition to a bucket/lid and carboy/stopper, you’ll need an airlock to let CO2 escape during the fermentation and keep bugs out, siphoning equipment, bottles, and corks and corker. You never want to pour what you’re fermenting from fermenter to fermenter because, again, oxidation, which can bruise the flavor, or completely oxidize it, and that doesn’t taste good. Some other items that are technically optional, but I highly recommend, are a hydrometer and test jar, and an acid testing kit. I’ll discuss more in-depth about using a hydrometer and acid test kit in the next post, but the hydrometer is a great tool to ensure fermentation is happening, and the acid test kit makes sure your fruit doesn’t have too much or too little acid, which can affect yeast and the overall flavor.
Cleanliness
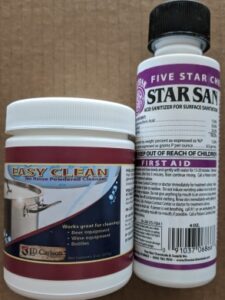
While discussing equipment, I can’t skip over keeping your equipment clean. Cleanliness is imperative to having a good product. If you clean/sanitize your equipment before you start and after you’re done, you shouldn’t have nasties, like mold and bacteria growing on your equipment, which can ruin a whole batch. For cleaning, I recommend a no-rinse cleanser, like Easy Clean. It is an oxygen-based cleanser that doesn’t foam/suds but gets the job done, and soaks labels off of bottles, mold out of the bottom of bottles, and does wonders on coffee pots. Easy Clean is only a cleanser, though, so you may want to use a sanitizer in addition, right before starting a batch. If you are only making wine, you can use potassium metabisulphite as a sanitizer, it is used to kill bacteria and wild yeast on fruit, so spraying down your equipment with it can kill present bacteria. I also make beer, and don’t feel comfortable using metabisulphite with my beer, so the sanitizer I use is another no-rinse option that is acid-based, Star San.
Star San
This sanitizer takes two minutes of contact time to kill bacteria, and can foam, but the foam also sanitizes. If you want to keep a bulk Star San solution around, (I keep a gallon mixed up at a time in a glass jug), because it is acid-based, you need to put it in distilled water since the minerals in tap water can neutralize the acid. It’s a ¼ tsp per 24 ounces in a spray bottle, or 1 ¼ tsp per gallon of distilled water. I check the acid level with pH paper test strips every month to make sure it’s still a two or three on the pH scale; that’s when it is most effective.
In Conclusion
The basic equipment you need is a bucket with a lid, a jug the size of your batch with a drilled stopper, an airlock, siphoning equipment, bottles for bottling, corks and a corker. In the fermentation section of this guide, I’ll discuss why I recommend a bucket with a lid over an open-air crock, and in the bottling section I will discuss why corking is better than just using stoppers in bottles. Keep your equipment clean so you don’t have to pour hard work and money down the drain, and have fun!
Part Two
Of course, cleaning and sanitizing isn’t just for your equipment when making wine from fresh fruit, so check back next week for part two, the guide on preparing the fruit for fermentation!
Here are the topics for that post:
- Preparing the Fruit
- Testing
- Additives
Caitlin