Time to Begin Fermenting!
You have prepared your fruit, additives added, and specific gravity taken, you are ready to start fermenting! We’re going to be talking about choosing the right yeast for your wine and the fermentation process.
Picking the Right Yeast
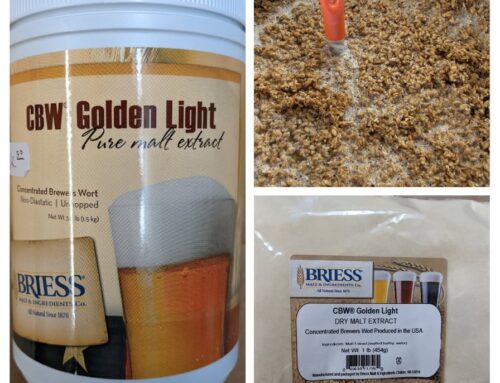
To have fermentation, you need yeast. You can use bread yeast if you’d like, but think about what bread yeast does…. It eats the sugars in the dough, makes CO2 causing the dough to rise, giving you soft, squishy mouth-watering bread, and imparts that signature bread yeast smell and flavor. When fermenting, you want the yeast to convert sugar into alcohol, be able to have longevity, tolerance to its alcohol environment, and impart a nice flavor. I’m not sure that bread yeast will give your wine a bread flavor profile, I’ve never used it to ferment before, but I imagine it would provide some sort of bready flavor. Also, bread yeast will make alcohol, but that isn’t what it’s designed to do, so it’s tolerance and longevity in alcohol isn’t quite up to snuff for producing quality wine.
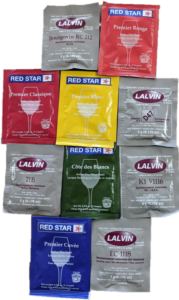
All the yeasts listed in the table, below!
There are yeasts for different styles, colors, and alcohol tolerances of wine, and each with a unique flavor profile. Alcohol tolerance in yeast is the percentage of alcohol the yeast can make and withstand before dying. If you want to make a wine that has some residual sweetness at the end of the ferment, use a yeast with a lower alcohol tolerance, but add enough sugar (using a hydrometer to measure the potential alcohol) so it’s a little over the percentage the yeast can withstand. The yeast will eat and make the alcohol it can, then die off, leaving the extra sugar leftover for sweetness. Of course, it’s less guesswork to let the yeast make a dry wine and back-sweeten at the end to taste. Most of the time, that’s what happens when choosing to make a higher alcohol wine, the yeast eats all of the sugar, creating a dry wine, sometimes sacrificing taste, which can be remedied at the end, as well.
When picking a yeast, think about what you’re looking for in your wine. Do you want it to have a high alcohol content? Do you want it to have a milder alcohol content, and maybe some residual sweetness? Do you want the yeast to impart a particular aroma? Picking the right yeast is essential to get the results you want.
Which Yeast Do I Choose?
Here’s a table I made of which Red Star and/or Lalvin yeast is best for each style of wine; I’m most familiar with these brands. Many of the yeasts overlap in which styles they can ferment, but the list below is what yeast is best per style.
One yeast sachet is good for five to six gallons of must. If you are doing fewer than five gallons, I would still pitch the whole sachet; it’s better to overpitch than under pitch. Also, I would disregard the re-hydration instructions on the back of the packet. More often than not, that will kill your yeast. It’s okay to sprinkle the dry yeast in your must and let it do its thing. Do not stir it in; it will disperse on its own. These yeasts are top-fermenting, so they like to ferment at sixty-eight to seventy-two degrees Fahrenheit. The fermentation may slow at sixty-five degrees Fahrenheit, resulting in longer fermentation time or stuck fermentation.
Like I stated in the first post about equipment, I recommend closed fermentation in buckets and carboys so bacteria and bugs can’t get in, but also for anaerobic fermentation to take place. Fermentation happens in an anaerobic environment, which has little to no oxygen. A little oxygen is needed to get the yeast started in multiplication, but after that, yeast does not require much oxygen to turn sugar into alcohol.
Primary Fermentation
This airlock video is a wine that had been fermenting for two days. I put Star San in my airlock, that’s why it is foaming.
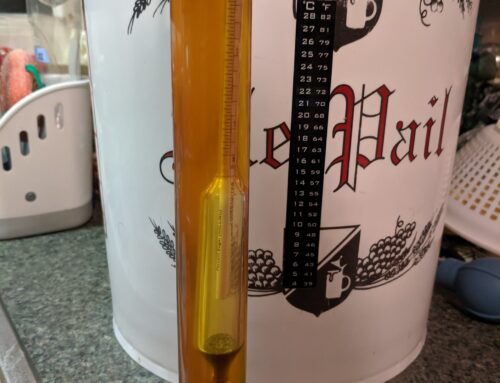
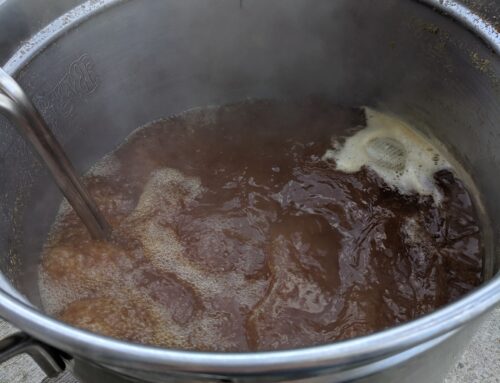
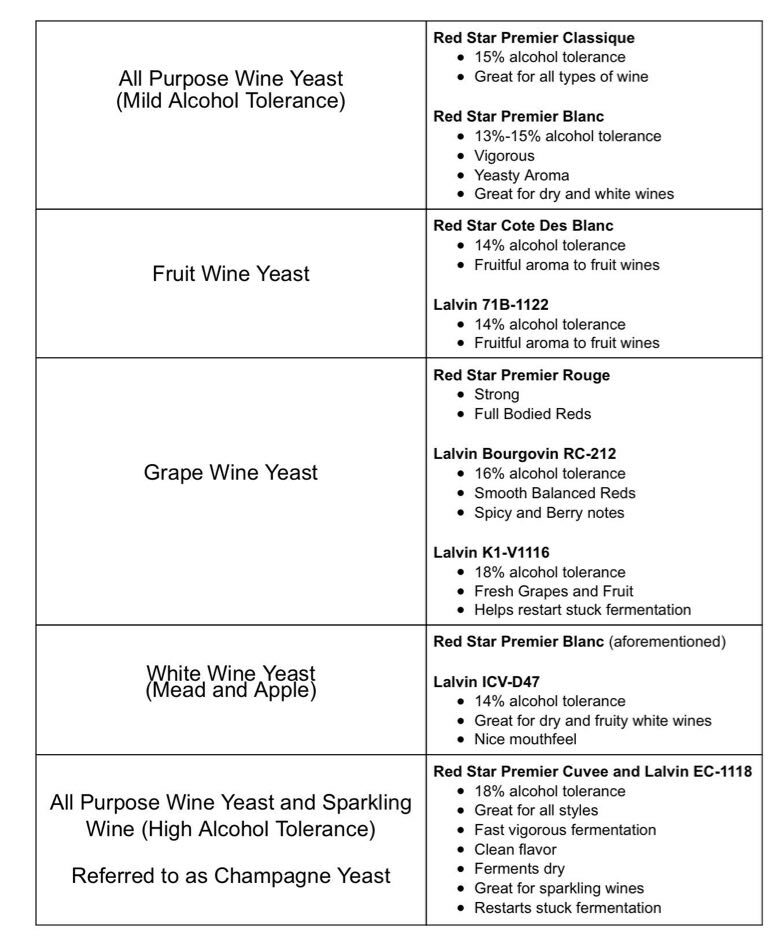
Once you pitch the yeast, place the lid and airlock on your bucket, or stopper and airlock on your carboy and let it work; make sure to put water in your airlock; I use Star San water in mine! The yeast may take up to forty-eight hours to start working, make sure your must is somewhere between sixty-eight to seventy-two degrees Fahrenheit. If you’re fermenting on the fruit, most recipes will tell you to stir your wine daily for the first seven to ten days, and that’s to get the juices out of the fruit. Stir with a clean/sanitized spoon, if your fruit is in a bag, squish it against the side of the fermenter to release the juices, and be careful not to get any fruit flies into your wine; they can turn your wine to vinegar! When you stir, you’re adding oxygen to the wine, and yeast doesn’t need or want that much oxygen, so stirring once a day will suffice. The initial fermentation will finish in seven to ten days. Some recipes tell you a specific gravity to aim for, like 1.040, before performing the next step, but if you aren’t using a hydrometer, after seven to ten days, the bubbling in your airlock will have slowed significantly, like barely bubbling in a minute, which means it’s time to transfer your wine!
Transfer to Secondary
Transferring for a second time during the Secondary.
Clean/sanitize a carboy, stopper, and siphoning equipment. Recalling back to the equipment post, a carboy/jug is best for this because you want it as full as possible with little head-space. At this point, if you fermented your fruit in a bag, pull the bag, and let it drain into your wine. I think some recipes tell you to squeeze the bag, so do that; I’d use a spoon and squish on the side of the fermenter. After you’ve pulled the bag, siphon your wine off of the sediment into the clean carboy. I recommend using a racking cane or auto-siphon with a hose to do this. I start the siphon with the racking cane/auto-siphon halfway in the wine, then slowly lower it onto the sediment on the bottom, so it doesn’t kick up any. Once your wine’s transferred, put the bung and airlock on your carboy of wine and place it somewhere out of the way, with a comparable temperature of the primary fermentation because now it’s going to sit and finish fermenting. Ensure you clean your equipment and nylon fruit bag when you’re done. If you used a muslin bag, you can throw it and the fruit bits away; I compost the fruit. If you were fermenting berries and your nylon straining bag got stained, you can soak it in Easy Clean overnight, and the staining should come out.
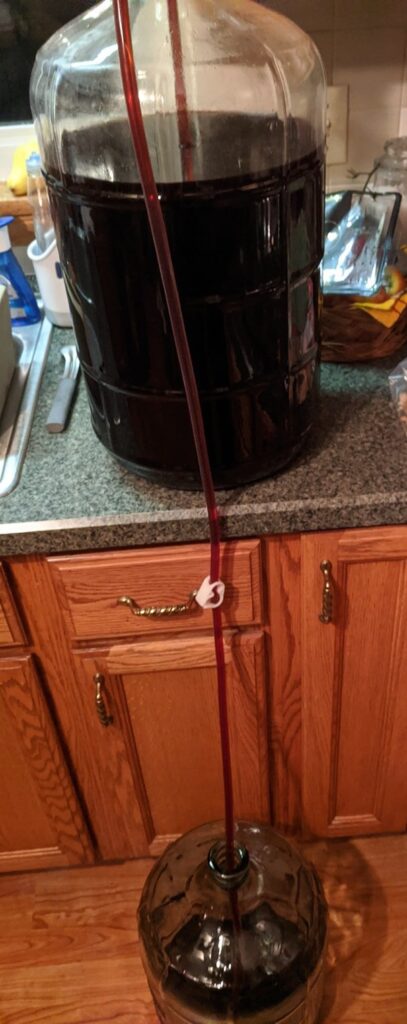
Secondary Fermentation
Four different wines hanging out in the Secondary Fermentation
You’re in the secondary fermentation phase! Secondary fermentation is where your wine is going to finish fermenting and start to clear. The wine will continue to ferment until it gets down to a specific gravity of 1.0000-0.996, and once the fermentation completes, everything in suspension will begin to settle, and your wine will start to clear. In this stage, it may take two to three more weeks for the wine to get down to 1.000 and below. If your wine was already at 1.000 or doesn’t bubble after being transferred, don’t fret! That means your wine is done, and now it’s going to clear and mellow out. After these two to three weeks, and the fermentation has ceased, siphon the wine off the sediment into a clean carboy, again, and let it sit for two months to clear on its own. At this point, you can put a solid bung into the carboy, or continue to use a bung and airlock, make sure to keep an eye on the water level in the lock; you don’t want any bugs getting in there!
The clearing is what takes the most time in winemaking, and you can add clearing agents, such as clays bentonite and sparkolloid, gelatin finings, or FermFast Dual Fine, which is a two-step liquid clearing agent, kieselsol and chitosan. Bentonite and the kieselsol and chitosan are sold in Winexpert kits to make wine that is clear in twenty-eight days.
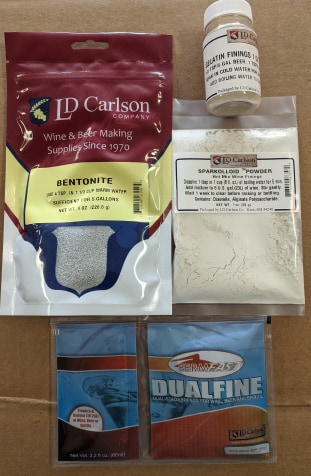
The four fining agents that can help clear your wine.
How Long Should I Let it Sit?
When making wine from fruit, I recommend at least three months spent in the carboy; that way, the wine has time to clear and mellow out, or it has time to change and present problems that can be dealt with while it’s still in bulk rather than already bottled. I tell all of my first-time winemaking customers of the time I made peach wine, which as a side note, I let it sit for two years in a carboy before bottling…
Anyway, I was talking to a customer about wanting to make peach wine, and he warned me that for some reason, after six months, peach wine tends to turn bitter, so I should be aware that might happen. I planned to let it sit for at least a year, anyway, but I kept it in mind. Sure enough, at the six-month mark, the peach wine had turned bitter. But, because I had kept it in bulk, I could smooth it with glycerin, which I’ll talk about in the next post. If I had bottled that wine after only three months, it probably would have turned bitter in the bottle. Then, I would have had to either risk oxidizing the wine by pouring out the bottles into a bucket to smooth it out in bulk or just remedied per glass when I was going to drink it.
I guess what I’m trying to say is good wine takes time; don’t rush your wine. I want you to be proud of the final product, and you’ve put too much time and probably money into this wine for you to be in a hurry. Also, remember to have fun!
-Caitlin