Beer is one of the oldest recorded recipes in the world. It was first written down around 4,000 years ago.
If you’re interested in this ancient hobby, you may be wondering where to start and what you need.
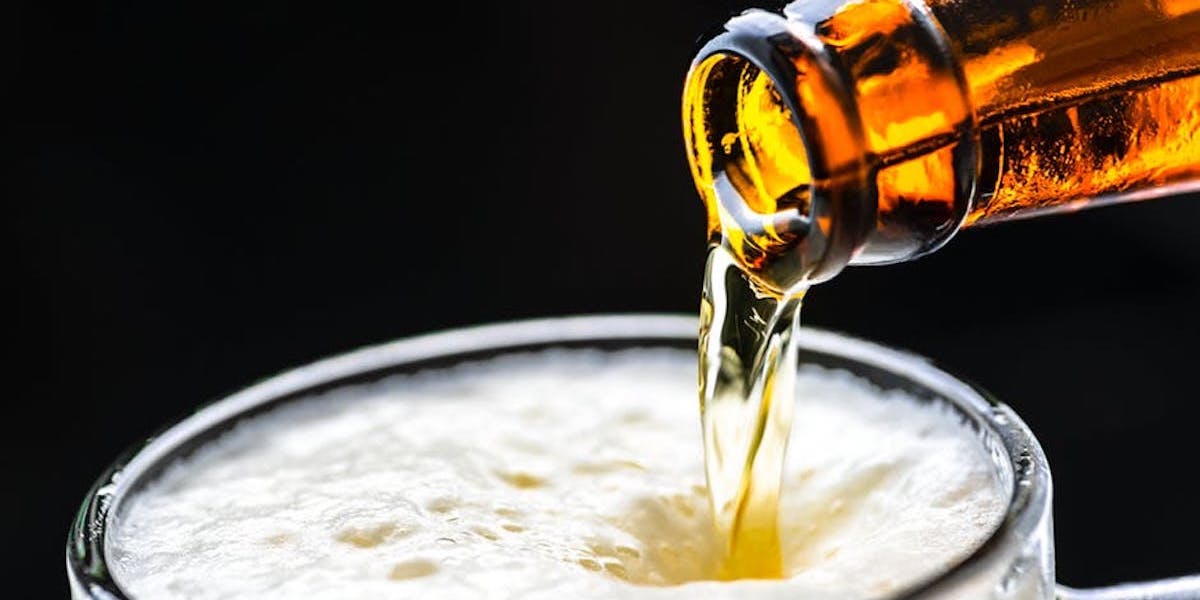
To help you get started, we’ve gathered some tips on how to brew your own beer using a kit. Keep reading to learn more about how to make the best homemade beer.
Keep Your Beer Brewing Equipment Kit Clean
One of the most important things you can do is keep your beer brewing equipment clean. If you’re not starting with a clean slate, you can end up losing entire batches to harmful bacteria and wild yeast.
In addition to cleaning the visible dirt off of everything with Easy Clean, every piece of equipment will also need to be sanitized. Use an iodine-based sanitizer or an acid-based one to ensure everything is bacteria free.
Be Aware of Temperature
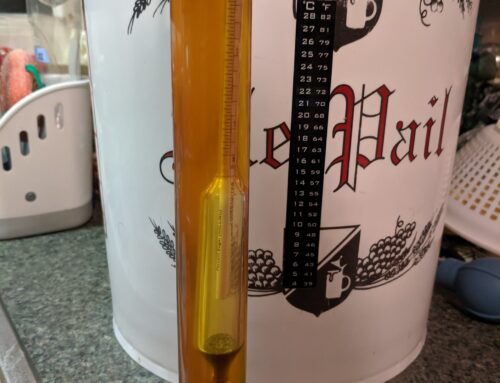
There’s a reason equipment kits come with a thermometer. At every step in the process, you need to make sure your wort/beer is at the optimal temperature of 68 to 72 degrees.
This starts when you chill the wort after the initial boil, and it is crucial during the fermentation process. Keep your fermenter in an area that doesn’t get a lot of draft or temperature fluctuations, in order to maintain the correct temperature.
Oxygenate Your Brew
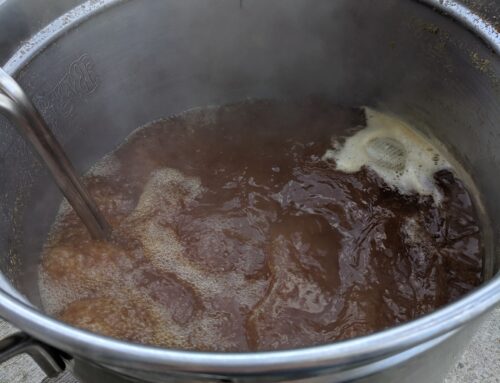
 Although it can grow without it, many strains of yeast prefer having access to oxygen. For that reason, you’ll want to oxygenate your brew before the fermentation process begins.
On your first few batches, you’ll just want to use a sanitized spoon or pour the wort through a strainer to carefully incorporate some oxygen into the wort before fermentation starts. However, once fermentation starts do not oxygenate the beer. Oxidation of finished beer causes off flavors. As you get further into this hobby, you’ll likely want to invest in an aerator.
Be Patient
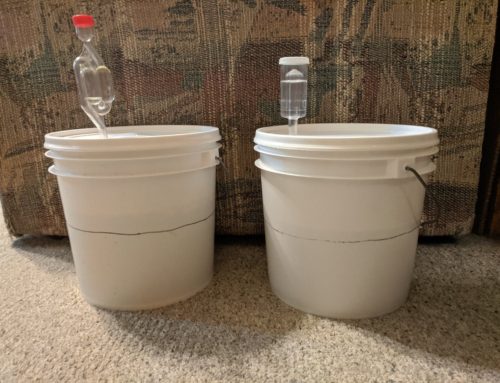
Many beginner brewer recipes will encourage you to bottle your beer after you get consistent readings on the hydrometer for 2 – 3 days after the initial ferment has finished. While you could do this, if you want a better beer, you have to be patient.
Waiting another week allows the yeast to move onto other parts of the beer besides the sugar to give it a better taste. It also makes for a clearer beer because the yeast has time to fall to the bottom of the fermenter. A fining agent like gelatin accelerates the clearing of your brew.
Don’t Forget Hops
This is another step many beginners miss and it’s because you can make beer without hops!
However, if you want a truly flavorful and balanced beer, you should include these plants. Research to see which type of hops provide the bitterness, flavor profile, and style of beer you already enjoy, then, have fun experimenting with different varieties until you find the perfect combination for your home brew.
Change the Yeast
One of the other major factors that go into the final taste of your beer is the yeast. Different strains of yeast produce unique esters, or flavor profiles, think the banana or clove flavor in Hefeweizens. If you’re having trouble when creating lagers or other styles with more subtle flavors, you may want to try using a different strain of yeast. Lager yeast is bottom fermenting, and likes cooler fermentation temperatures, 32 to 55 degrees, whereas Ale yeast is top fermenting, and likes warmer fermentation temperatures, 68 to 72 degrees.
Want to Brew Your Own Beer?
Now you know (most) everything you need to know to brew your own beer. As you can see, there are a lot of things to keep in mind, but by following these tips you will produce a brew you can be proud of.
If you want to get started in this hobby, contact us today. We’ll help you find the right kit for you to jump in and start brewing today.